

Teaching Young Ball Players How To Slide …easy as riding a roller coaster
/
Most youth baseball and softball players can learn to slide properly and safely when taught correctly. A simple step by step teaching approach is presented below.
An important element of a successful slide is to generate a lot of momentum when running. Good sliding technique also requires a player to lean back and drop while maintaining their running speed. Coordinating these two elements is where kids run into challenges.
The kids we work with will pretty much fall into one of two groups. A few will be tentative, and a bit concerned about hurting themselves. Most will be eager to start sliding, possibly a bit over eager. The important point for a coach is to be prepared to work with both types of player.
The good news is we have a teaching approach that will build confidence in the tentative kids and reign in the enthusiasm of the others, so they learn to slide effectively and safely.
Establish a Comfortable and Safe Learning Environment
During sliding practice, the kids are going to spend a lot of time on the ground. We want to identify a day when the elements are best for teaching this skill. In the south, a day after some rain softens up the ground is ideal; in the north we want it to be warm enough that wet bodies do not catch cold.
Grass is the best surface on which to learn to slide. Ideally, we practice sliding on damp or wet grass. If your field has access to water and a hose, use it. A well-watered surface becomes a slippy-slide, which makes the activity easier for the kids and a lot of fun. Water down the 10’-12’ of grass in front of the base. The wet surface limits the amount of friction build-up on those little legs and butts.
Coaches in the north, alert parents prior to practice. Run the sliding drill at the end of practice. Assuming the kids will get wet sliding, we want them to get to their warm cars and get home as quickly as possible.
Instruction Sequence
STEP 1
Sit the players down facing the coach. Players and coach have both legs extended straight out in front. Tell the players to tuck one foot under their knee. Important: coach demonstrates first with one foot tucked and then the other. Show both options as quickly as possible. Players differ in which foot they are comfortable having tucked under their knee. Kids tend to copy what the coach does; we do not want to influence a player to tuck the foot that is not natural for them when sliding.
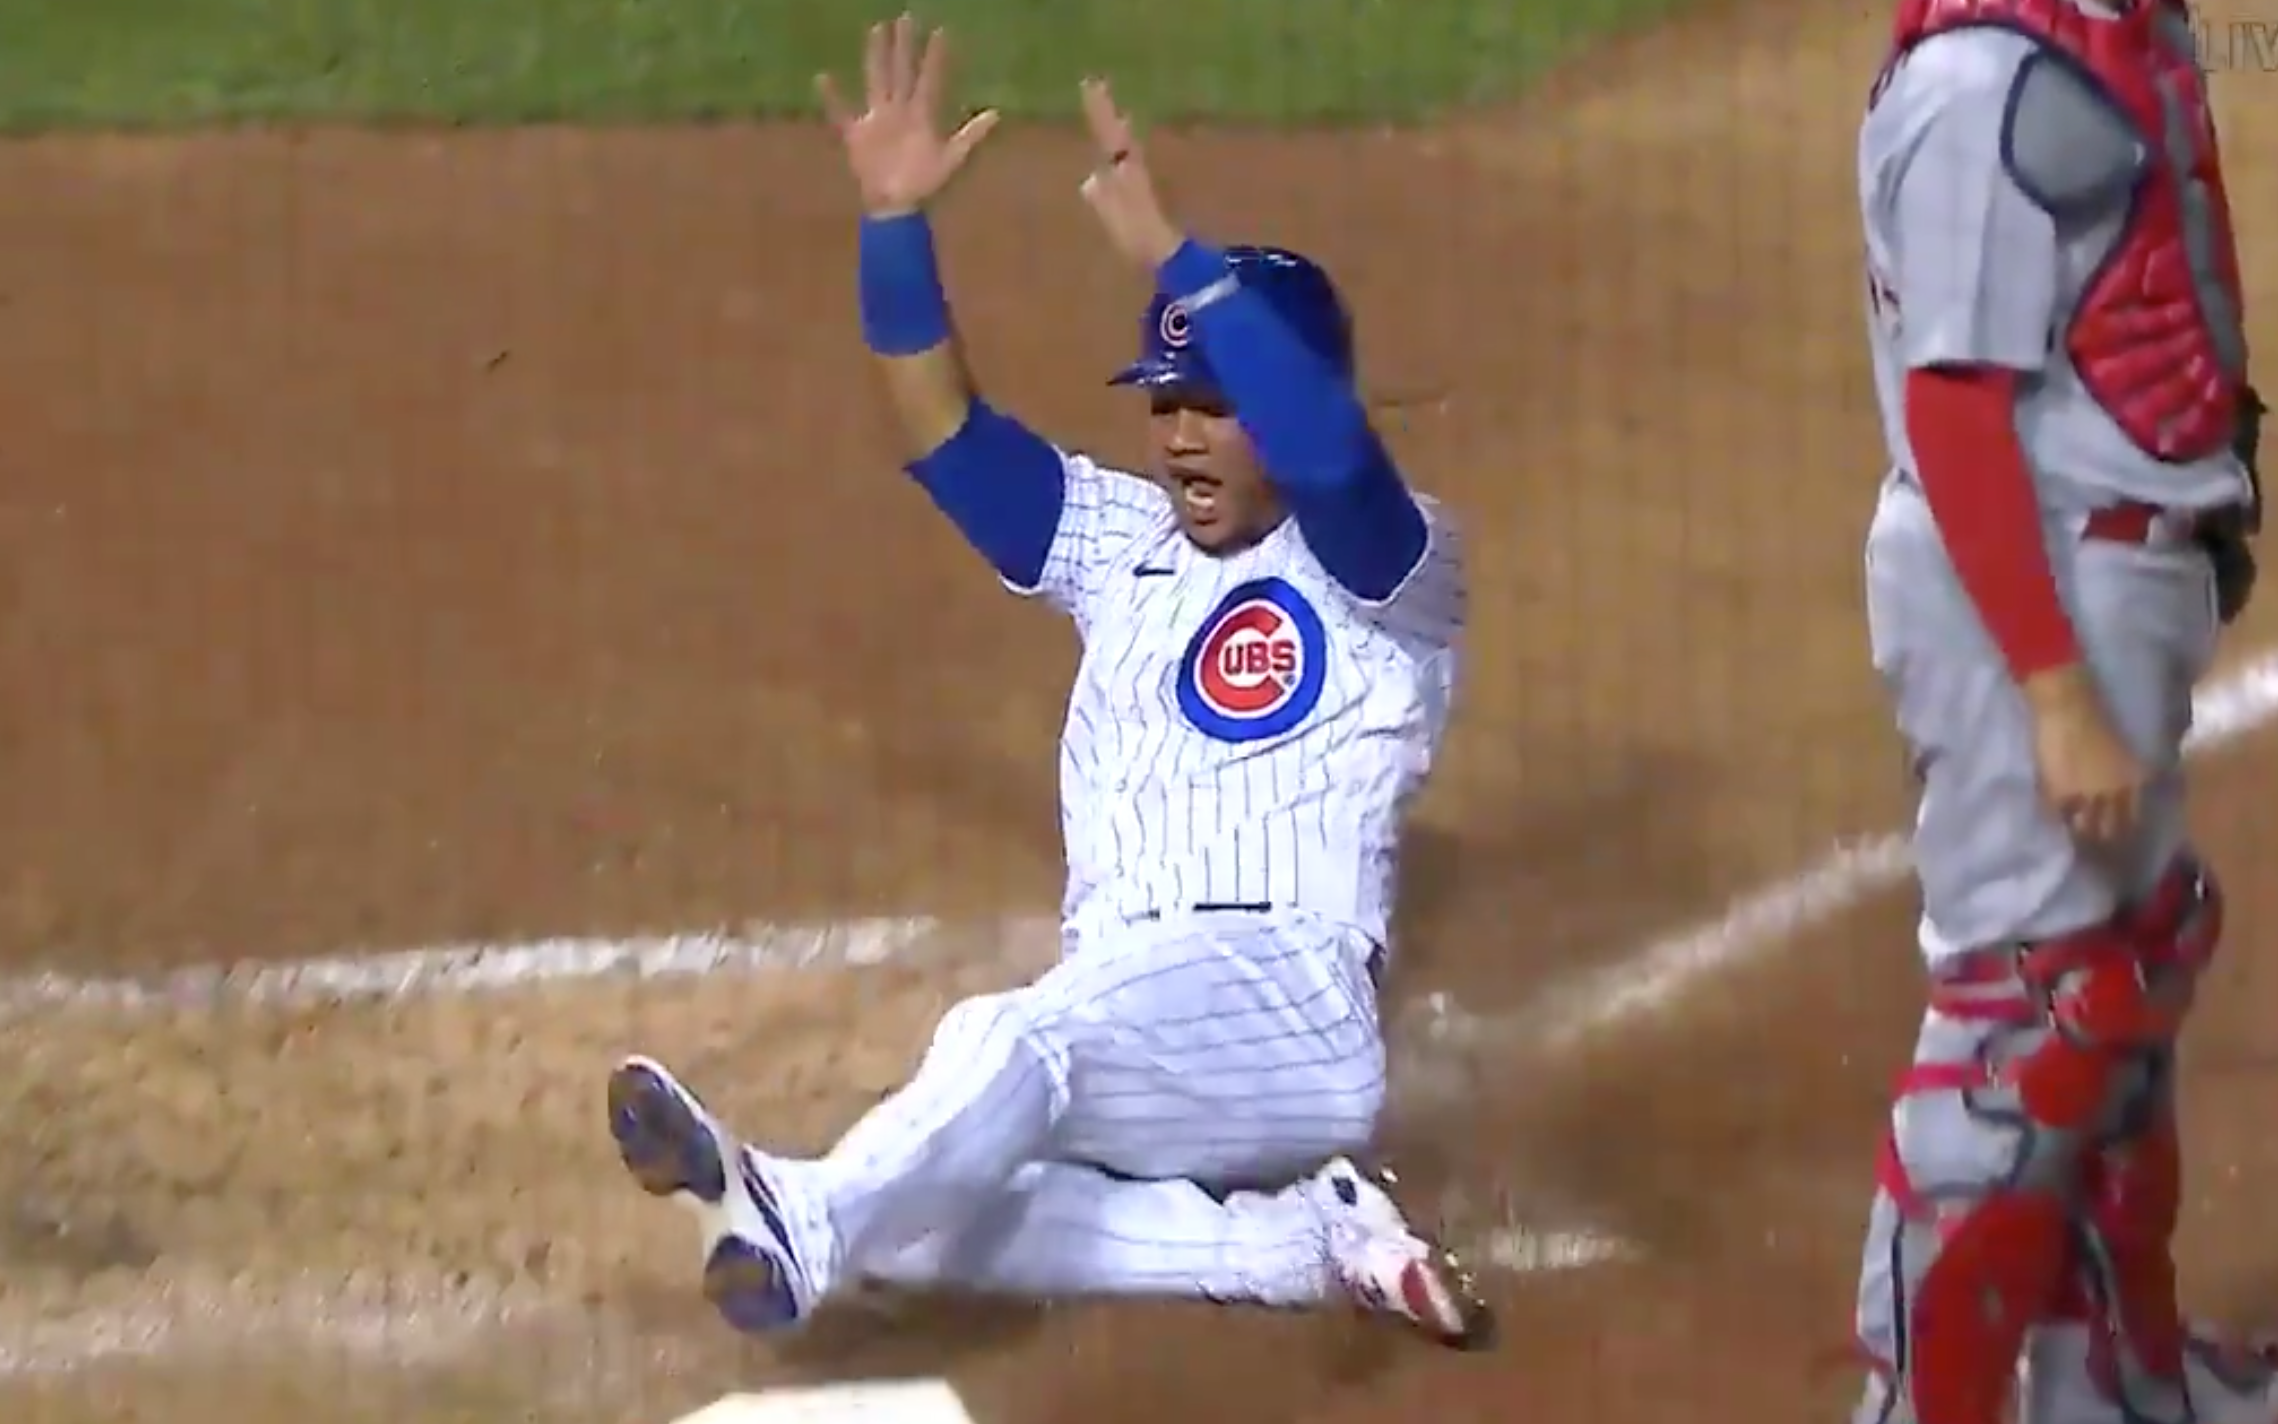
This positioning of the legs creates a ‘number 4’. This is called a Figure-4 sliding position or a bent leg slide. The Figure-4 is the most common sliding technique.
STEP 2
While sitting in the figure-4 position have the kids rest their hands on their knees. Now it is time for the players to pretend they are on a roller coaster going down a big, steep drop. Coach hollers, “Ready… Slide!” Everyone throws their hands up over their head and yells “wheeeeeeeeeeeeeeeeeeeeee!”
This is silly time for the kids, and they love it. Repeat this 3-4 times. Egg them on to be loud and have fun with the exercise.
STEP 3
We are still playing roller coaster, but now as the kids throw their hands up, they slowly lean back until they are lying on their backs. When they complete this action, we want to emphasize that they want keep their hands well off the ground.
Repeat 3-4 times …or more if they are having fun. :)
Step 4
Set out three or four bases approximately 15’ apart. Bases can be a cone, a throw down base, a cap, hoodie, etc. Break the kids into groups, one for each base. Line them up about 40’ from the bases and get ‘em ready to run!
Important: Ideally the kids practice sliding without their shoes on; socks don’t get caught in the ground. Catching a cleat while practicing sliding can cause a serious leg injury! At worst have the kids wearing sneakers - NO CLEATS ALLOWED!!! There must be advance communication with parents, so the kids can bring a pair of sneakers to this practice.
Teaching Points
The Body Contacts the Ground at an Angle
The part of the body that lands first when sliding is the butt. While standing/running this part of the body is a couple feet off the ground. Some kids who are new to sliding imagine how much it would hurt to drop straight down on their butt.
We want to explain that while they are dropping down, if they are running as fast as they can, their hips/butt are also moving forward. This combination results in their butt contacting the ground at an angle, which greatly minimizes the amount of weight and pressure on the hips/butt area.
How to demonstrate: Start 30’ from the base. Jog to a point 8’-10’ from the base (this is where a kid will begin their slide; actual distance varies by age). Before taking off, tell the kids to notice how your hips are moving forward through space. This seems elementary and obvious, but it is important for them to see this, not just a picture in their minds.
When you stop at the point 8’-10’ from the base, explain that is where they begin their slide. (When drilling younger kids, it can be helpful to place a marker ahead of the base to help them identify where they begin their slide.)
From this point, use your hand, starting at hip level, to illustrate a downward angle to a point on the ground (or as far as you can bend down ;) ) a couple feet in front of the base. Explain to the kids that you are showing them the path of their hips/butt as they move toward the point they make contact with the ground.
When their body contacts the ground at an angle, with forward momentum, the ‘weight’ of their body at contact is reduced significantly. They can imagine a huge jumbo jet landing. A mega-ton airplane contacting the ground at an angle eliminates most of the stress of the plane’s weight on its landing gear.
Run Full Speed
Velocity and momentum are needed for a good slide. Remind them to keep running full speed into the slide. Some kids are still tentative about dropping to the ground and will slow down prior to starting their slide. We need to continue to encourage them to maintain as much speed as possible. The faster a player is running the flatter the landing angle of the slide. The flatter the angle the less impact when landing.
Lean Back
As a player leans back to start their slide, the hips naturally get lower to the ground reducing the distance between the hips and the ground. This also puts the body in a better angular position for sliding. This action, combined with momentum, further reduces the impact when the butt meets the ground.
Throw Hands Up While Leaning Back
Keep in mind that with the hands in this relationship to the body, there is a sense of a loss of balance and body control. This is an action and body position many kids are experiencing for the first time. It takes repetitions for the body to get used to any new action. Not only is it important for us to recognize this when coaching, but to clearly communicate to the kids that we understand this action may feel awkward and uncomfortable at first. Educate them that after they have practiced this new action a couple dozen times it will become familiar and much more comfortable.
Two reasons for throwing the hands over the head when sliding
1. There is more padding in the butt than the side of the hip and leg. Sliding on their side can tear up the skin and leave a painful raspberry (when sliding on dirt or artificial turf). These can take a week or more to heal and disrupt their play in future practices and games.
2. Many experienced players, including those at the highest levels of play, still tend to slide on one side and put a hand down. This puts the thumb, wrist, and fingers in danger of being injured. While it does not happen that often, there are plenty of players each year who miss 2-4+ weeks of playing time because of a nasty sprain or break.
Keep the Foot of the Extended Leg off the Ground
This is serious business for safety reasons. If a player allows the lead foot to touch the ground, a cleat can catch. If the ground does not give something in the leg has to give; an ankle, knee, hip, or bone - ouuuuuch! The heel of the lead foot contacts the side of the base. The knee of the extended leg remains slightly bent. This allows for the stronger muscles of the upper leg to absorb most of the impact of the foot hitting the base.
Older players, who generate a great amount of momentum, will learn to convert that momentum into ‘popping up’ onto their feet after hitting the base. Younger players will have the muscles of their upper leg absorb what energy remains when they contact the bag and finish laying on their back.
For all ages, kids that are lighter or faster will have an easier time developing the ability to pop-up. Heavier or slower kids will take longer. We should not anticipate kids being able to execute the pop-up action before age 10 or 11; some not until they are a teen.
Important: We need to teach our players to immediately identify where the ball is after completing their slide. Either visually or looking to a base coach. At this level of play thrown balls often get past the player covering the base. Quickly identifying where the ball is, can mean the difference between advancing to the next base or having to stay put.